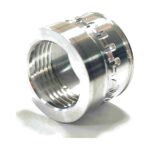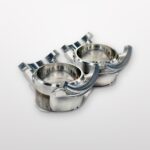

A progressive die rarely fails all at once. One punch chips, or a pilot breaks, and the whole press stops. If there is no spare on the shelf, the line waits while a new part is made. Most of that downtime can be planned for, because the parts that wear first are well known. This article lists the components that usually wear first in a progressive die, the signs to watch for, how regrinding works, and which spare parts are worth keeping in stock.

Why Some Parts Wear Faster Than Others
Every stroke of the press rubs the cutting edges against the strip. That abrasive wear rounds the edges a little at a time. Not all parts wear at the same rate. Punches usually wear faster than the die sections they cut against: the die (matrix) may need sharpening only half to a third as often as the punch (The Fabricator, Tarkany).
In a progressive die, the areas that need regular attention are the cutting sections, pilots, form punches and form dies, lifters and springs, and the timing of inserts (The Fabricator, Vacca). Guide components wear too: wear plates should be smooth and not scored, and guide pins and bushings should be checked for score lines (MetalForming, Ulintz).
Wear Parts: Signs to Watch For and What to Stock
| Component | Signs of wear or damage | Spares worth keeping |
|---|---|---|
| Piercing and trim punches | Larger burrs, smaller holes, changing trim dimensions (Tarkany); more roll-over, more noise, press working harder (Mate) | Spare punches for small, slender or critical punches, made from the same drawing as the originals |
| Die buttons and die inserts (cutting sections) | Larger burrs and changing trim dimensions; chipped edges | Spare inserts for stations with the highest wear; the die often lasts longer than the punch, so fewer are needed |
| Pilots | Bent, broken or galled pilots and elongated pilot holes in the strip, often caused by incorrect feed release (Hedrick) | A set of spare pilots for each pilot size in the die |
| Form punches and form dies | Formed features drifting out of tolerance; galling on forming surfaces | Spares for forming sections that are hard to remake quickly |
| Lifter, shedder and stripper springs | Uneven pressure; slapping or snapping sounds from pads or stripper plates, which can mean broken springs (Ulintz) | Springs of each size and load rating used in the die |
| Wear plates, guide pins and bushings | Scoring; one-sided wear, which points to misalignment or uneven pressure (Ulintz) | Replace when scored; find the cause of one-sided wear before fitting new parts |
The table is a starting point. The right spares list for your die depends on the strip material, the press speed and your own wear records, which is why tracking matters (see below).
Already know which punches or inserts you need as spares? Send us the drawings and we will reply with a price and lead time within 2 days.
Regrinding: How Much and How Often
Mate Precision Technologies gives clear guidance for turret punch press tooling. The principles are the same for many stamping punches, but the exact values for a progressive die should come from the die designer or your own records:
- When to sharpen: when the cutting edge has worn to a radius of about 0.25 mm (0.01 in). Sharpening at this point takes less material off than waiting until the edge is badly worn (Mate).
- How much to remove: 0.03–0.05 mm (0.001–0.002 in) per grinding pass, and normally 0.13–0.25 mm (0.005–0.010 in) in total per sharpening (Mate).
- After grinding: stone the edge to a small radius of 0.03–0.05 mm (0.001–0.002 in), demagnetize the part and oil it (Mate).
- Die height: check the die thickness after sharpening and shim as needed (Mate). During an inspection, find out which punches and die sections have been shimmed and why (MetalForming, Ulintz).
Heat is the main risk during regrinding. Tool steels such as A2 and D2 can be damaged at temperatures as low as about 175 °C (350 °F), so grinding should be done on a surface grinder with flood coolant (The Fabricator, Tarkany). Discoloration, cracks or a “fish scale” pattern on the ground face are signs of grinding damage, and a punch with dark discoloration should be replaced (Mate).
To estimate how many sharpenings a punch will give, divide the grind stock allowed by the die design by the amount removed per sharpening. For example, if a design allows 2 mm of grind stock and each sharpening removes 0.13–0.25 mm, the punch will last roughly 8 to 15 sharpenings before it must be replaced. Your actual numbers depend on your die design.

Springs: Deflection Decides Life
Spring life depends mostly on how far each spring is compressed. MW Components gives these guideline deflections for color-coded die springs, as a percentage of free length:
| Die spring load class | High cycle life range | Suggested maximum deflection |
|---|---|---|
| Light duty (blue) | 25–35% | 50% |
| Medium duty (red) | 20–25% | 37% |
| Heavy duty (gold) | 15–20% | 30% |
| Extra heavy duty (green) | 15% | 25% |
Source: MW Components. The faster the die runs, the shorter the spring life at a given deflection. Using as many springs as the die can hold gives the needed load with less deflection per spring, which improves service life (MW Components). Check every lifter and shedder spring for even pressure and make sure the springs are long enough to avoid early fatigue failure (MetalForming, Ulintz).
Common Problems, Causes and How to Avoid Them
- A punch breaks and there is no spare. Cause: spares were never ordered because the punch “always lasted”. Avoid it by ordering spares for slender punches and for any punch that would stop the die, together with the first set.
- A new spare does not fit or cuts a different size. Cause: the spare was made from a worn sample or an old drawing revision. Avoid it by making spares from the current drawing and CAD data, and by noting any shims or changes made to the die since it was built.
- Pilots keep bending or breaking. Cause: often not the pilot itself but the feed. Incorrect feed release can cause misfeeds, elongated pilot holes and bent, broken or galled pilots (The Fabricator, Hedrick). Check the feed release setup before replacing pilots again.
- Punches wear on one side. Cause: often misalignment or uneven pressure, the same causes that show up as one-sided wear on wear plates (MetalForming, Ulintz). Fix the alignment first, or the new punch will wear the same way. Our article on specifying punch and die clearance covers how clearance affects wear.
- Nobody knows how much grind stock is left. Cause: grinding amounts were not recorded. Document the amount removed at each sharpening and the dimensions to check, and track them over time (The Fabricator, Vacca). These records also tell you which spares to reorder and when.
If a punch wears out much faster than expected, the material may be the issue. Our comparison of tool steel vs carbide die components explains when an upgrade makes sense.
What to Include When You Order Spare Parts
- The current drawing and CAD files (DXF or STEP), or the die number and station number if we made the original parts
- Material and hardness, for example SKD11 or carbide, and any coating
- Whether the spare should be made to full new length or to match a reground part
- Critical dimensions and tolerances, especially the cutting profile and fitting diameters
- Quantity of each part, and whether you want the spares now or on call
- Strip material and thickness, so clearance can be checked
- Notes on shims or changes made to the die since it was built
If the original drawings are missing, our guide to quoting replacement punch and die components explains what to send instead.

How We Make Spare Punches and Inserts
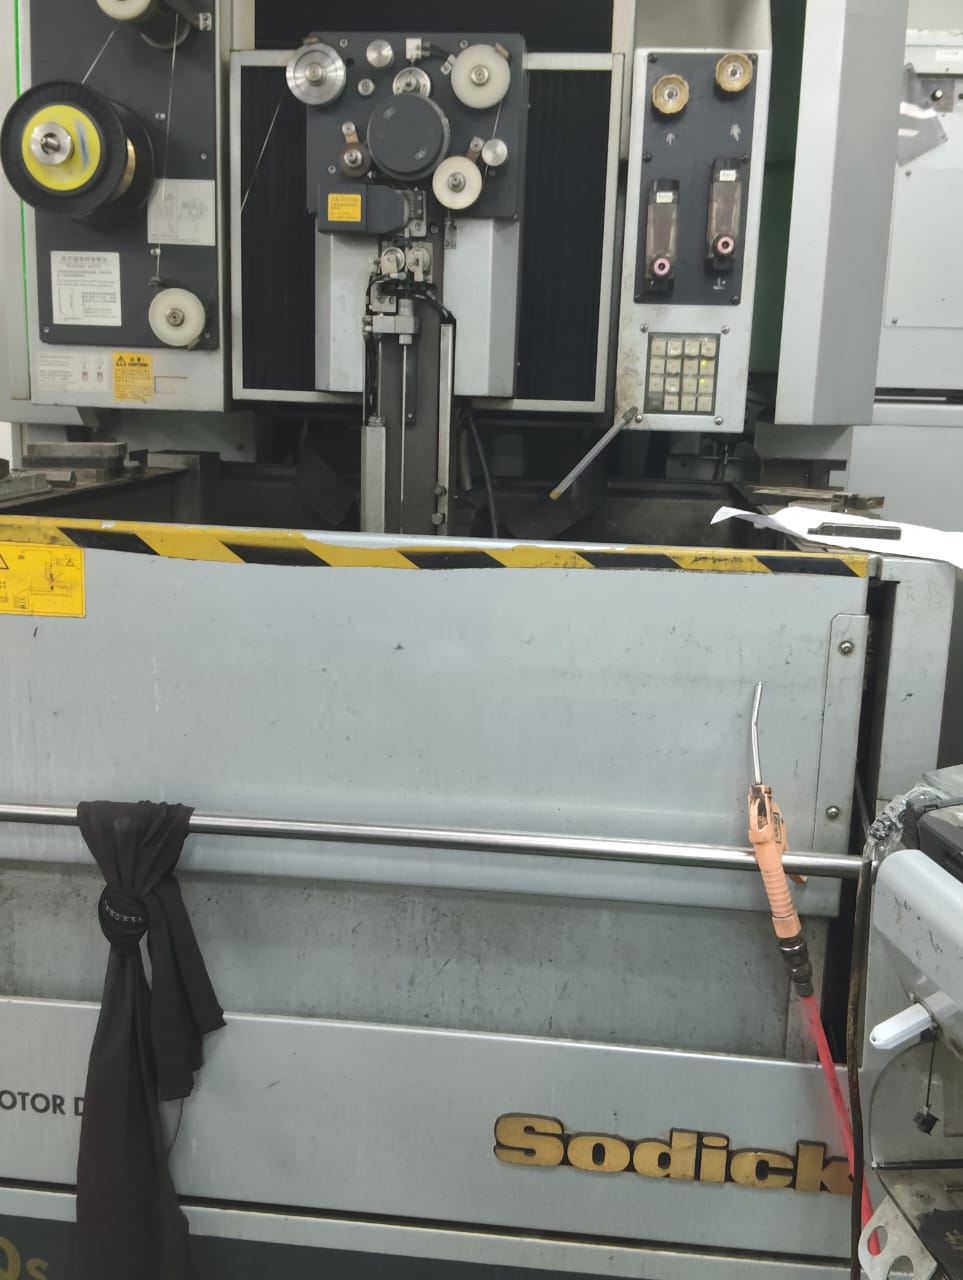
At SkyPu, we make stamping die components to customer drawings, including punches, die inserts, die plates and stripper plates. Shaped punches and die openings are cut on our 18 wire EDM machines, including Sodick low-speed wire EDM, and our 8 CNC machining centers handle plates and holders. Heights and flat faces are finished by surface grinding. We check profiles on a Nikon V-12B profile projector and a Nikon MM-400 measuring microscope, and heights on a TESA-hite height gauge. We machine to tolerances down to ±0.002 mm, and typical lead time is about one week, excluding shipping. Because each spare is made from the same drawing and CAD data, it fits the die the same way as the original.

Frequently Asked Questions
Which progressive die parts should I keep as spares?
Start with small or slender piercing punches, punches at critical stations, pilots, and the springs used in the die. Add die inserts for the stations with the most wear. Your own wear and grinding records are the best guide to the final list.
How often should punches be sharpened?
Sharpen when the cutting edge is worn, not on a fixed schedule. Mate recommends sharpening when the edge has worn to about a 0.25 mm radius. Watch for larger burrs, more noise and changing hole or trim sizes.
Can you make a spare from a worn sample instead of a drawing?
We can measure a sample, but worn edges and earlier regrinds change its size. If possible, send the drawing or CAD data. If not, we measure the sample, send you a drawing to confirm, and then make the part.
How long does it take to make spare punches and inserts?
Typical lead time is about one week, excluding shipping. We confirm the lead time for your parts with each quotation.
Want spare punches or die inserts ready before your next breakdown? Send your drawings with material, hardness and quantity, and we will reply with a price and lead time within 2 days.
Sources
- Mate Precision Technologies: Punch & Die Maintenance
- The Fabricator: Sharpening for a longer life (Nick Tarkany)
- The Fabricator: Ask the Stamping Expert, progressive die maintenance (Thomas Vacca)
- The Fabricator: Die Science, 4 causes of poor strip feeding in progressive dies (Art Hedrick)
- MetalForming: Information-Laden Dies Require Your Attention (Peter Ulintz)
- MW Components: How to Select a Die Spring